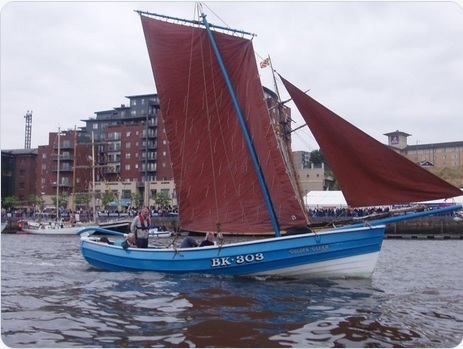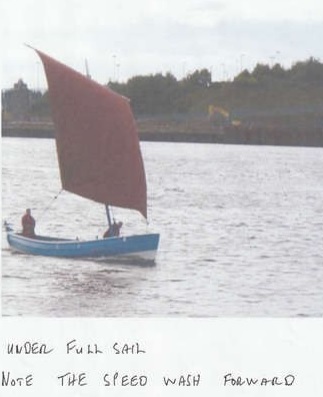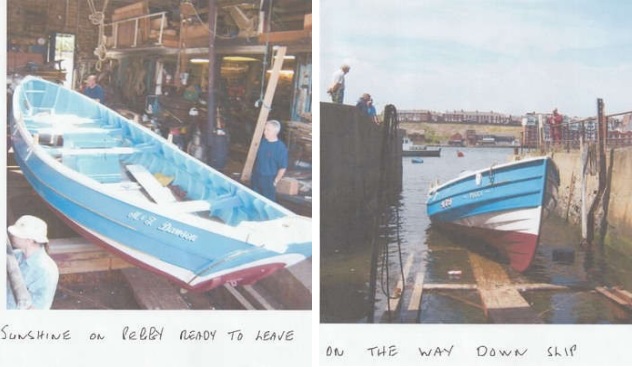
Now she’s clear of the slip headed upriver then turns about to catch the wind the sails hoisted and the Peggy’s off like a race horse, the sail is full the suns shining on her, Mick on the tiller thinking where’s the brakes are we breaking the port speed rules? a pull on the ropes to adjust the trim then drop the sail to turn about and head upriver again.
We now have lots of people watching the boat including the doubters and the “it will never be done squad” but now they have to watch this glossy piece of history saved go sailing past, this time much closer to the quayside and Mick is waving to them, but it appears that he’s hurt his hand as he’s not using all his fingers to wave at the doubters.
Well it’s off for a run about the harbour for Mick and his son leaving us to pull up the cradle and have a few days off, just a few, as by the end of the week there will be another coble on the cradle this time the coble Morning Harvest from Blyth, a bigger boat with a lot of work and a new engine, the main difference this one will be red not blue.
Well I hope this will be of interest and helpful to anyone trying to restore a coble and you enjoy the task as much as I do. I apologize for any grammar or spelling mistakes I am a boat builder not an author.
If the paper was wood and the pen copper nails it would have been a better job.
Good luck to all
Fred Crowell
With thanks to Mick, his son and my number one helper, Alan Woods

It was some years after Mick Dawson had sold Peggy to the Northumbrian Fisheries Heritage Trust, that some good pictures of her under full sail were taken but as he cannot find any, here is one of the Golden Gleam taken at a boatshow in NE1 Marina in 2005.