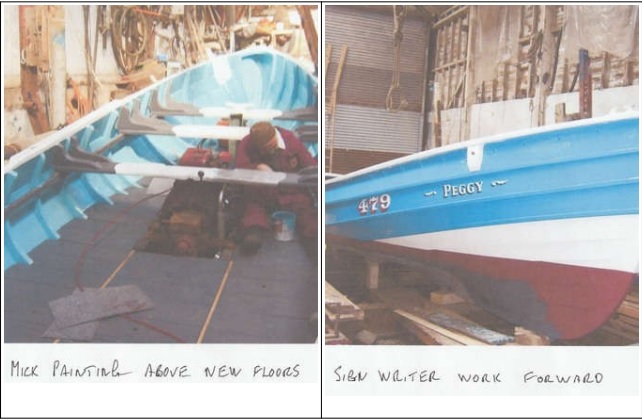
Deck Floors
Next job to start is the floors and beams, we start by putting in the long beams these stretch from the base of the horseshoe to the engine beds, location is above the inside rail that holds the bilge keels, with such a long spread you will have to put in three uprights to support the load these will be cut to fit on and be fastened to a frame. Make sure that the timber comes short of the hull planking, reason being if on the planking a heavy load on the floors could push the planking away from frame causing a leak. With beams set we now do the inwires, these are the rails that run along the frames to support the floors on the outside edge. To get the correct height for these place a straight edge on top at the beams and mark the height on the frames, this will be about 2×1 inch due to the position on the frame the top corner, will need a lot of bevel off for the boards to lay flat normally about 3/4 inch is needed but don’t fasten in until the bevels are checked. You can’t take more off once nailed as this will make it to low. On the top of the main beams fix a lath 3/4 inch x the thickness of floor boards this gives the final position of hoards on beam.
With everything set off we now start on the boards the best way to do this will he to do the center boards first this will give a good working area to work from when fitting the sides. A bit more skill needed to fit the side floors as these run around the hull frames fit the boards but leave length on until the fit is right.
As the underside will need a lot of bevel off correct this later will make the boards short. New knees and scut fitted to transom top. Don’t make the boards to good a fit to frames, this will give any water a chance to escape the deck floor.
Page 18.
As the underside will need a lot of bevel off correct this later will make the boards short.
Don’t make the boards to good a fit to frames, this will give any water a chance to escape the deck floor.